Tuesday, December 20, 2011

Rock Salt

I had a few pintrest craft ideas rolling around in my head, one of them involved covering simple glass vases with epsom salt. I forgot how good the epsom salt looked, so I bought rock salt instead. I think a box was under $2. I was going to use it in a $1 Tree vase. Last year, I had a T-shaped stand to hold a couple of prized ornaments. It was also from the $1 Tree, and it looked cheap. So I wanted something a bit better this year. Luckily, we'd just cut down a huge bush, so I snagged some twigs. I cut them down, cleaned them up and arranged them in the vase. Then I glued pieces of rock salt onto them. It looks like ice.
And there you have it. Though before putting it onto my mantel, I rearranged a bit and decided that the bow just wasn't cutting it. So I took that off too. I'm pretty pleased with the result. It'll be staying up through out winter.
Next I poured some into empty glass ornaments.
And the biggest most annoying rock salt project I have for you today: a Christmas present. The decorative presents were also from pintrest. But their third one involved flower petals. I didn't want another red one, and the flowers would have cost more than I wanted to invest in this project. So I copied the first two presents with peppermints and garland. But for the third one, I wanted to cover it in rock salt. Talk about TEDIOUS! I started by spraying the box with spray adhesive and wrapping it really tightly with white wrapping paper. I hot glued the ends closed. You need a tight wrap, nothing hanging or loose.
Then, one square inch at a time, I hot glued, smashed the rocks into the glue, then flipped the box over and wiped off the extra. Those things bounced all over the room and made a huge mess. And the box will forever continue to shed. To help alleviate some of that, I sprayed each side, as it was finished, with a coat of spray polyacrylic.
Though, I have to admit, I decided not to cover one of the sides because it would always face a wall anyway. I debated it, thinking it would bug me. But it was such an awful project that I don't regret it one bit.
While I find the result quite beautiful, I don't recommend doing this project. But if you are a glutton for punishment like me, here are some suggestions: test drive a slower drying glue, like maybe elmer's, paint it on an entire side and mash piles of EPSON salt into it. I do love the look of the rock salt, but it is just too dang big and irregular. I had to glue many pieces on individually, and still they are likely to come off at any moment. Then spray with the polyacrylic. If anyone tries it, I'd love to hear how it goes since I may have to re-do this one next year because all of my rock salt has fallen off in storage.
I do love how they all look together. I just don't love that sheer gold ribbon. I'll be changing that to a more vibrant gold. I still have about 1/4 of the box of rock salt left. So, all of these projects, including the peppermint and garland boxes was about $15. And most of that cost went to peppermints. It took 4 1 pound bags, so that was about $8 right there. Oh, and if you don't have the vase, there's another $1, and about 50 hot glue sticks.

Saturday, October 8, 2011

Fall Flower Arrangement

I've seen a lot of alternative flower arranging materials on pintrest. I can't remember if popcorn kernals were on there or not, but that's what I had available. It worked GREAT! It holds the stems in place while still allowing me to move and tweak them. I thought about acorns, but my daughter hadn't collected enough (she's usually got a pile laying around.) Besides, this worked so well, and looks so good, I will definitely do it again.Just for fun, I also found this on pintrest. My whole fall decor this year cost right around $8, because I had the wood, paper, and flowers on hand. I added two of these sillouettes from the $1 Tree along with some "creepy cloth" spiders and a crow from the $1 Tree. I don't do holiday decor for more than $10 typically. And it mostly comes from the $1 Tree. Happy Fall.

Friday, September 23, 2011

Sewing Armoire: Part 2

Alright ladies... and gents? Anyway, I've got the armoire all decked out.
I've got 8 matching boxes of patterns, ribbon, and supplies. That gives me almost two boxes of growing room. And they were on sale at Michael's for $1.77 each, as opposed to the typical $3+. And they had styles that worked with my decor. And that bottom shelf is for items waiting to be sewn and mended. (Curly likes to tear the eyes out of stuffed animals. Darn dog.)
On the right door is a pretty cork board for ideas and receipts. And a spool holder - by far the most expensive piece. Worth it! I love having my thread accessible. Before, it was in a carrying case. While portable, it was tricky to get into. This is MUCH better!
On the left door, peg board for scissors and such. The bottom part is a couple of shelves that hold tiny tupperware tubs full of pins, chalk, etc. Hmmm... I should have switched what was on the left and right since I'll have to get to this stuff more often... why didn't I think about that sooner?! Oh well.
There's room for the ironing board to hide away behind.
There's lots of room for fabric, a little room to grow. And my sewing machine pulls out over my lap and can turn wherever I want it. The only thing I don't like is that I have to pull out the foot pedal each time I use it.And with the touch of a button, I turn on both the sewing machine... 
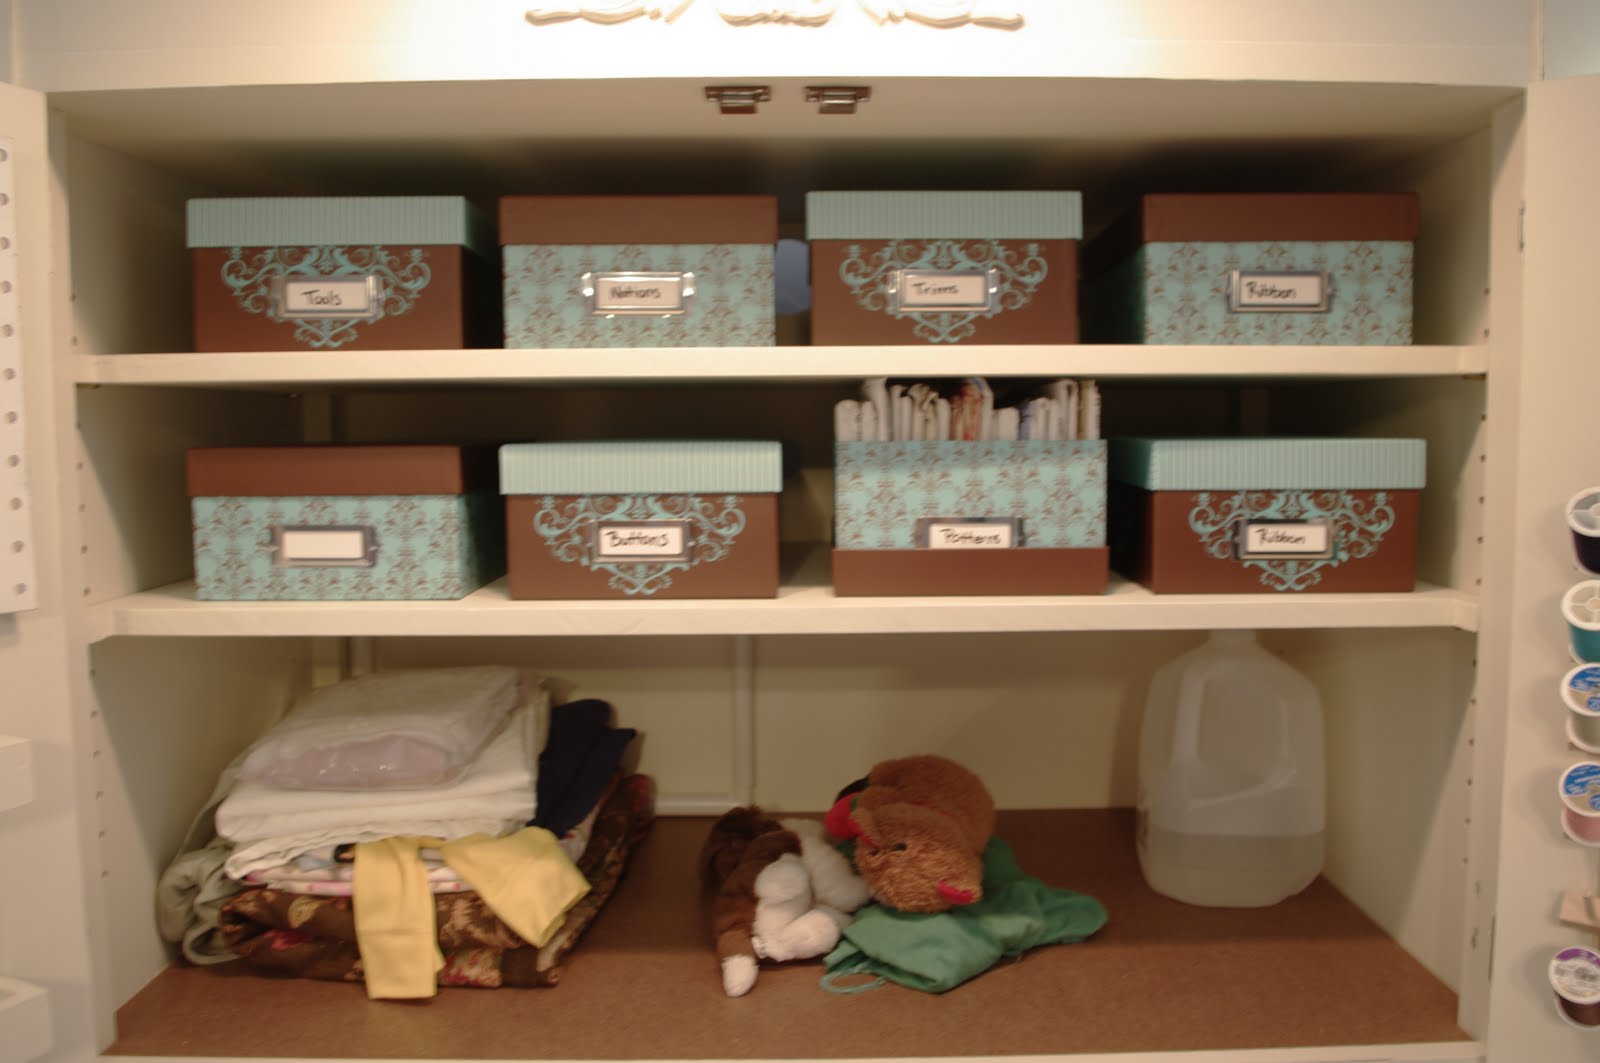
and task lighting. See it up top there? That's a light that attaches to a frame to light artwork. It works perfectly here. I'm so happy with it! It's exactly what I envisioned when we moved in, long before finding the armoire. It's SO organized, and the best part is that all of my junk is no longer strewn across that entire wall!
Ah, so nice.

Saturday, September 17, 2011

Sewing Armoire: Part 1

Since the inside isn't quite done, I'm breaking this up into two parts. I went to check out a new-to-me thrift store here in town a while back... spring I think. I've never seen such a dreadful thrifting situation as there is here. This "new" store was no exception. But I did score with this beautiful TV armoire. It had a wonky door, but is solid wood for only $100. I left with only pictures of it because hubby and I don't spend that much without talking to each other first. But we had priced something else at Ikea for around $400. So he eagerly gave me the green light. I went back that day and someone had ripped that wonky door off the hinge all together. So they marked it down to $80. SCORE! That sucker was a BEAST! SO HEAVY. The poor thrift store ladies I'm sure did not get paid enough to wrestle that thing out the door. A kind patron helped them/us get it in and strapped down. He even loaned me a strap... SO Kind! Hubby and I dumped it in the garage and it sat... for months. Honestly I was a little afraid to tackle it. I knew it would take precise measuring and cutting. I'm not much on precise. But here she is.
Anywho, I knew I could fix that door, but it proved to be way more trouble than I'd expected. Hubby ended up figuring it out. Those hinges are fancy and complicated. But we got it fixed. You can't see some of the wood working detail, but it really is beautiful. I would've left it as it was, but it was all scraped up and of course did not suit my needs or decor.
So I started by taking off all of the doors and shelves. Then I built walls inside where the doors slide into the armoire. Does that even make sense? Then I had to reinforce them.
Then I added feet and flipped the whole thing upside down. I had to flip it to put the middle shelf in the right position. I couldn't move it without having to rebuild most of this thing. Oh, yeah, and I flipped it By Myself! "I am invincible!" Hehe. (I think I did a "touchdown" sort of jig when I finished.) Then I decided these feet made the whole thing look really squat. So I turned it on it's side and replaced them with something better. It's still a bit squat looking, but much better. Aaaand I painted it navy as a base coat.
I cut down the swiveling TV shelf and mounted it to my inner walls. I built and mounted drawers and cut down the existing shelves to make them sit further back (I'll show you why in the next post.) Oh, and I cut the real feet off of the new top of the armoire and added a carved wood piece to make it look a bit less like it was upside down. Then I painted it two coats of semi-gloss cream. I stripped out all of the shelves and drawers so we could haul this thing into the house, the morning before hubby went into surgery. Fun huh? That was my mental deadline. Again, this thing is a BEAST! We had to haul it up 5 whole steps! If I had to guess, I'd ballpark it around 300 lb.
I dragged in each of the other pieces and then put it all back together.
Here's the before again.
And after. Ahhhh... it's done! I endured a LOT of sweat and bug bites for this thing. And soon, I'll have it all loaded and organized and I'll be able to relax in my bedroom.
I sanded parts of the cream off to reveal the navy underneath. It really fits well with the blue beachy feel I've got going on in there. And until now, I've done all of my furniture in dark wood tones. I'm so glad I didn't do it here. The room is dark enough.
I think I find more joy and beauty on the inside than the outside. Probably because that's where all of the work went. And actually, aside from that little hinge, everything went together much more smoothly than expected! I think the makeover probably cost somewhere around $120 for wood, 1 piece of trim, drawer rails, two sets of feet, and paint, oh, and the curved decorative piece. Sounds like a lot to me (maybe just because I'm SO cheap) But $200 for a piece this solid, versus $400+ (because I would've had to build it out a little too) for a piece much less so... plus, this fits my needs SO perfectly. I'd call that a win. I can't wait to show you what I've done to the inside. I'm almost done. Making things pretty and organized, that's the fun part.

Monday, August 22, 2011

Intro

I think I've bored my family and friends with all of my "crafty" blog posts. So I decided to make a new blog just for creativity's sake. Now I can link up without fear of creating unwanted traffic on my family's daily happenings. And hopefully I can help someone discover a hidden talent. I love all things beautiful. Crafting and design have brought me such enjoyment that I would love to inspire someone else to do the same. I'm not just a crafter though. I delve into woodworking and sewing as well. If I see something I like, I don't think "I wonder where I could find that?" Instead, my mentality is "Ok, how can I make that?" But it's all with the same goal, to create something beautiful.